 +1 (786) 209-1854



Creating the CallBack widget
Before creating the CallBack widget, make sure you have at least one employee or group assigned to an outgoing direction.
Learn more about setting up incoming and outgoing directions
How to create the CallBack widget?
- Click Widgets.

- Go to CallBack.

- Click Create Widget.

Creating the callback widget is divided into three stages. In the first stage, you configure the general parameters of the widget.
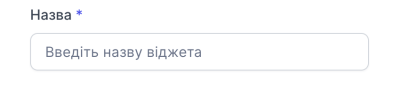
- Come up with and enter a name for the widget.
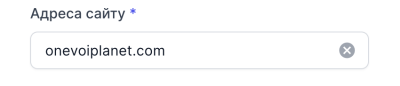
- Enter the address of the website where the widget will be placed without http://, without www
For example: onevoiplanet.com
- Select the widget state. An On toggle means that the widget will be activated immediately after creation.

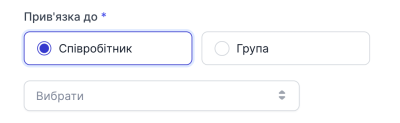
- Select the employee or group to whom the call will be directed
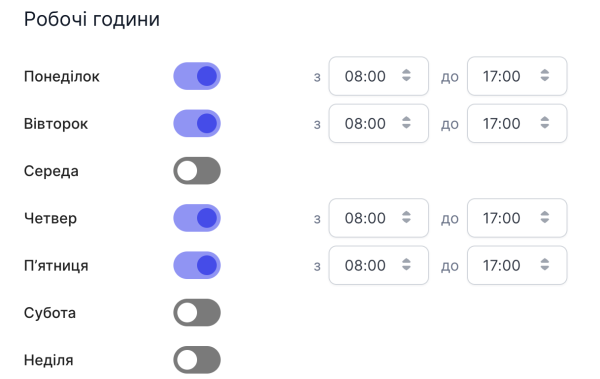
- Set up the working hours according to your preferred call-receiving schedule
- Select additional widget display settings:
- Display the widget on site exit - when the user moves the cursor away from the website page, they will be prompted to leave their number and choose a time for a callback

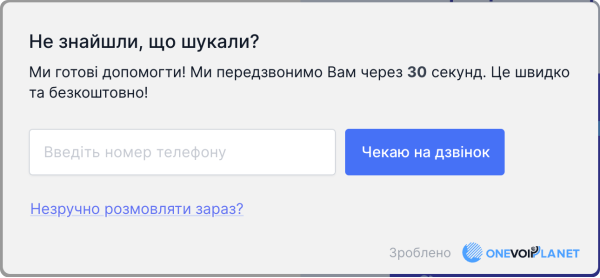
- Hide the widget during non-working hours - the widget will not be displayed on the website during non-working hours

- Click Continue.

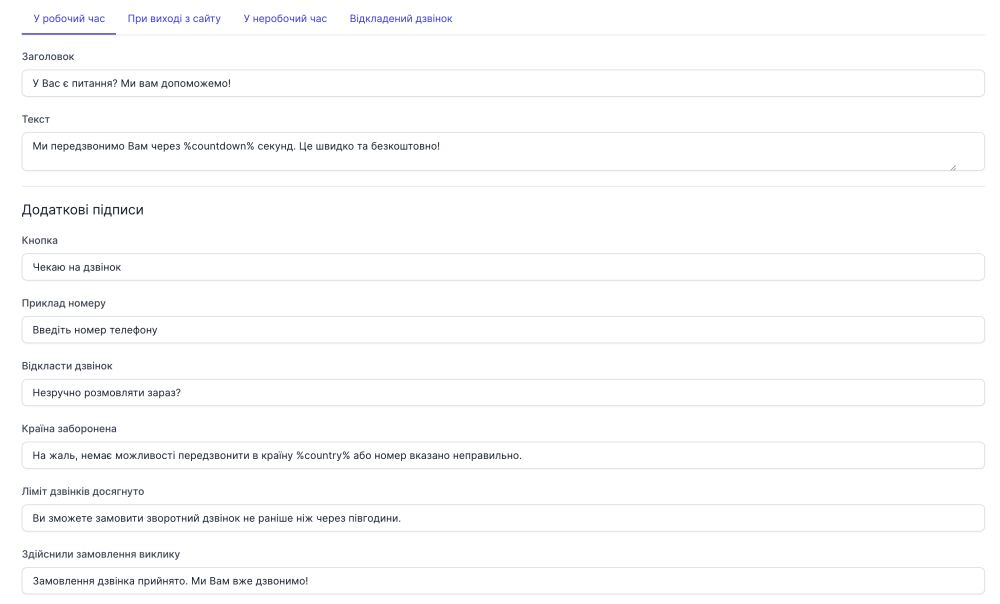
In the second stage, you choose the appearance of the widget: the type and size of the button, the color of the button and block, the position on the page, and the block captions in various situations.
- Select the type and size of the button (currently only one type of button is available)
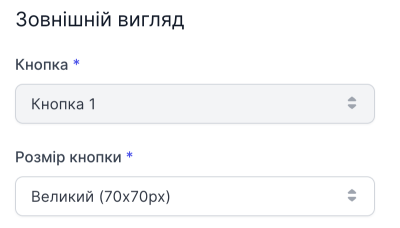
- Set whether the button will have animation

- Select the color of the button and block (for the button, you can choose a color from the palette)
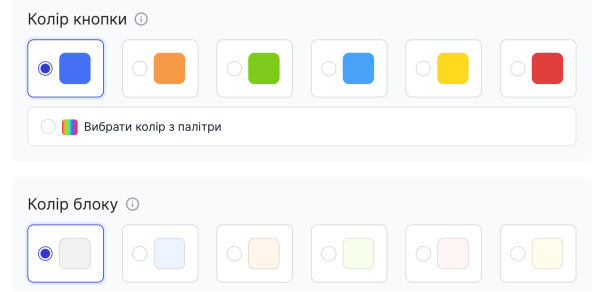
- Select how the button will be positioned on the website
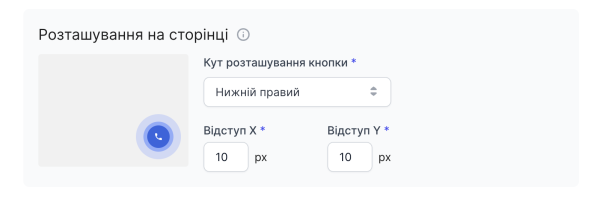
- Set up the captions for different cases
- Click Continue.
In the third stage, you choose the widget display criteria.
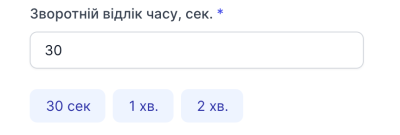
- Select the countdown timer that will display the maximum time within which the customer receives a callback
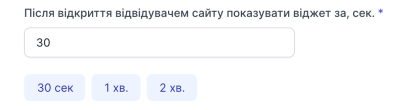
- Set after how much time the widget will be displayed after the user opens the website (recommended from 10 seconds)
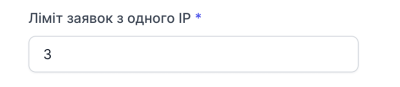
- Select the number of possible requests from one IP
- Click Create.
Creating the CallBack widget is complete.