+1 (786) 209-1854



Setting up the Zoiper app
Setting up the Zoiper app on Android
Setting up the Zoiper softphone on the Android operating system of a mobile phone.
In Google Play, you need to download the app called Zoiper or Zoiper IAX SIP VOIP Softphone, without the word Pro.

To enter the registration data in the Zoiper app, you need to log in to your OneVOIPlanet account.
- Click Employees.

- Click the employee's full name, or click the ... button and select Edit.

- Select SIP account and the employee's data will open: SIP address, domain, and password.
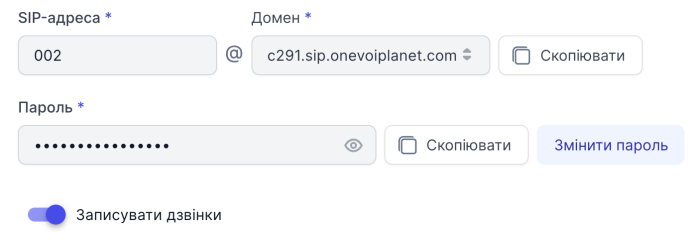
- In the first field, Username@ PBX / VoIP provider, enter the employee's data from the SIP account. The SIP address, domain and, with no space, :5070 or :5071.
In the second field, enter the password from the SIP account. To view it, click Copy and paste it into any free field.
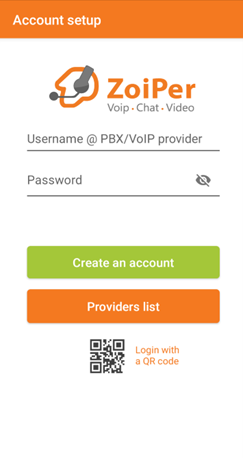
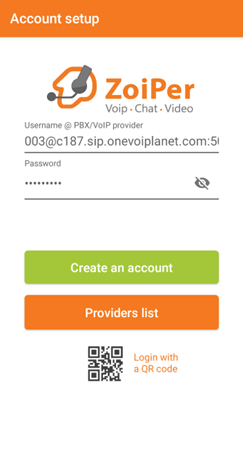
- After filling in the data, click the green Create an account button.
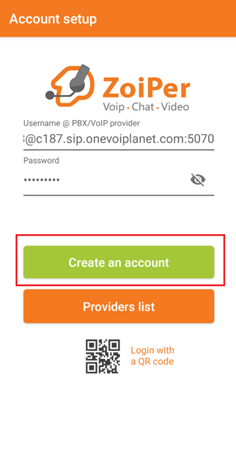
- Next, do not change anything and click Next.

- Do not enter anything, click Skip.
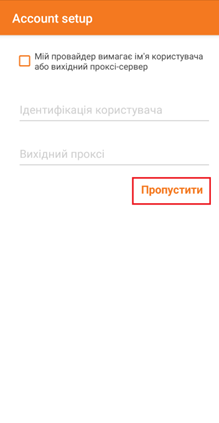
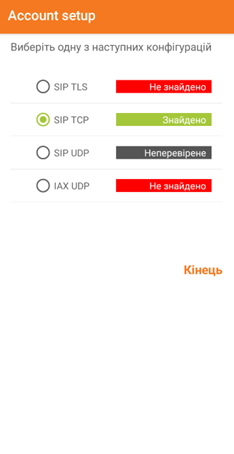
- Select SIP TCP and click Finish.
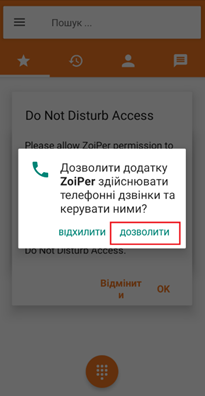
- Next, we grant permission to make calls. Click Allow.
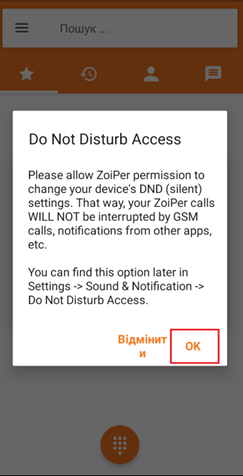
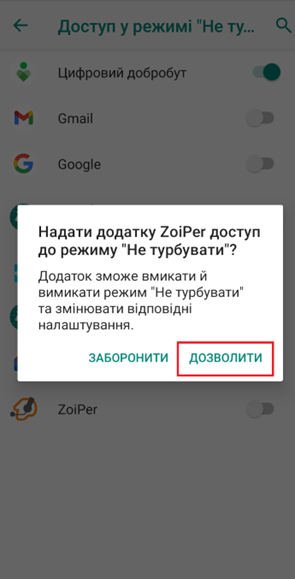
- We grant permission to receive calls when you have opened other apps. Click OK and then Allow.
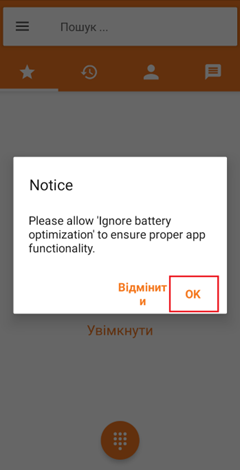
- We allow increased battery usage. Click OK.
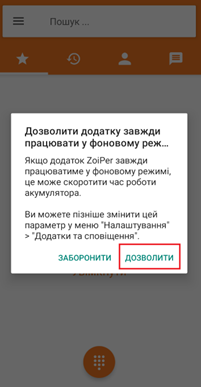
- We allow the app to run in background mode. Click Allow.
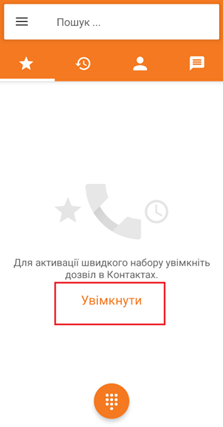
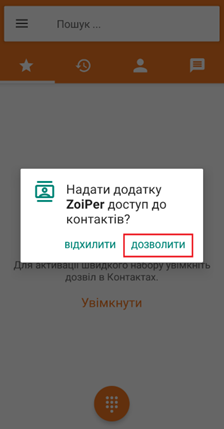
- Be sure to grant access to contacts. Click Enable and then Allow.
- If necessary, allow call recording, or decline if it is not needed.

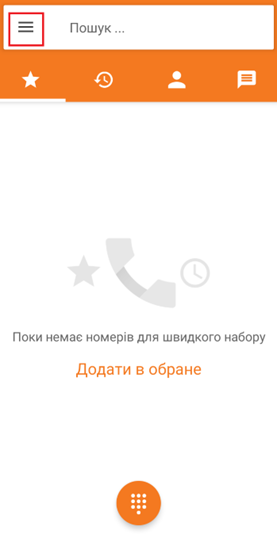
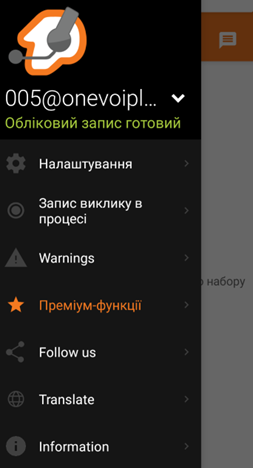
- To check the status activity, click the three horizontal lines in the top left corner. If it says Account is ready, this indicates that the app is set up correctly and you can receive and make calls.
Setting up the Zoiper app on iOS
Setting up the Zoiper softphone on the iOS operating system of a mobile phone.
In the App Store, you need to download the app called Zoiper Lite voip soft phone, without the word Premium.

To enter the registration data in the Zoiper app, you need to log in to your OneVOIPlanet account.
- Click Employees.
- Click the employee's full name, or click the ... button and select Edit.

- Select SIP account and the employee's data will open: SIP address, domain, and password.
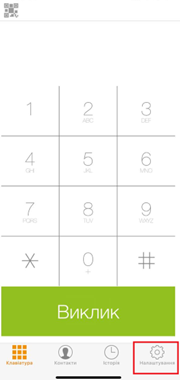
- In the Zoiper app, confirm permission to access all requests. After confirming, click Settings in the bottom left corner.
- Select Accounts.
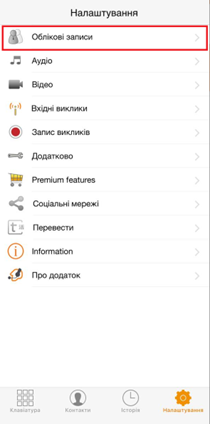
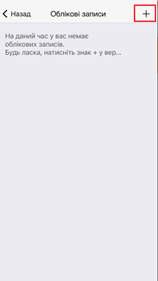
- In the top right corner, click the + sign.
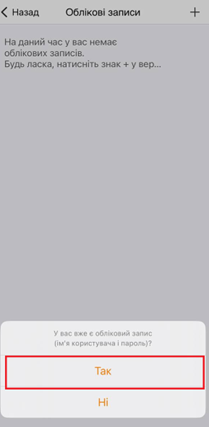
- To the question of whether you have an account, click Yes.
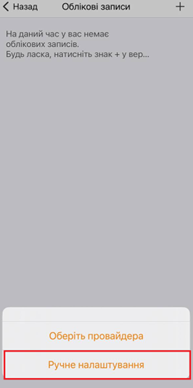
- Select Manual configuration.
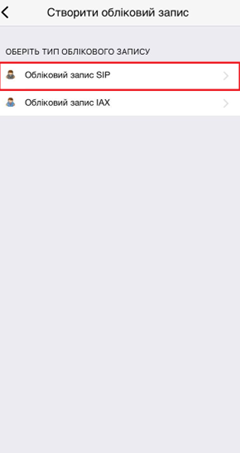
- Select SIP account.
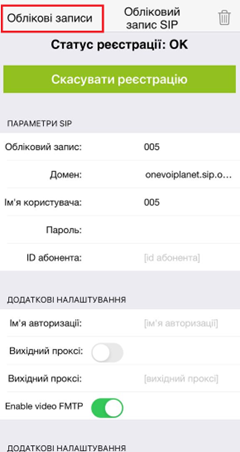
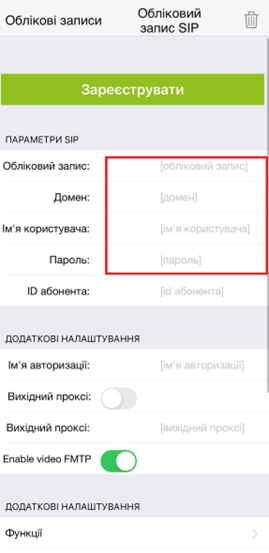
- Fill in the fields according to the employee's data from your account.
Account - this is the SIP address (005, for example)
Domain - this is the Domain and :5070 or :5071 with no space (c333.sip.onevoiplanet.com:5070, for example)
Username - this is the SIP address (005, for example)
Password - this is the Password from the SIP account. To view it, click Copy and paste it into any free field.
After filling in the fields highlighted in red, click the green Register button.
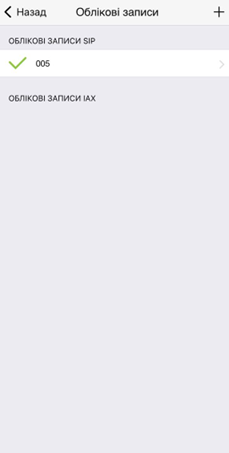
- To check the status activity, click Accounts in the top left corner. A green checkmark indicates that the app is set up correctly and you can receive and make calls.