+1 (786) 209-1854

Language: English
  • English
  • Українська
  • Русский
  • Polski
  • Deutsch
  • Français
  • Español
  • Português
  • Nederlands
  • Svenska
  • עברית
  • العربية
  • 中文
  • हिन्दी
  • Bahasa Indonesia
  • 日本語
  • Italiano
  • Türkçe
  • 한국어
  • Tiếng Việt
  • ქართული
  • Filipino
  • ไทย
  • Čeština
  • Română
  • Ελληνικά
  • Dansk
  • Norsk
  • Suomi
  • বাংলা
  • اردو
  • فارسی
  • Bahasa Melayu
  • தமிழ்
  • Azərbaycan
  • Հայերեն
  • Қазақша
  • Oʻzbekcha
  • Magyar
  • Български
  • Slovenčina
  • Hrvatski
  • Slovenščina
Language: English
  • English
  • Українська
  • Русский
  • Polski
  • Deutsch
  • Français
  • Español
  • Português
  • Nederlands
  • Svenska
  • עברית
  • العربية
  • 中文
  • हिन्दी
  • Bahasa Indonesia
  • 日本語
  • Italiano
  • Türkçe
  • 한국어
  • Tiếng Việt
  • ქართული
  • Filipino
  • ไทย
  • Čeština
  • Română
  • Ελληνικά
  • Dansk
  • Norsk
  • Suomi
  • বাংলা
  • اردو
  • فارسی
  • Bahasa Melayu
  • தமிழ்
  • Azərbaycan
  • Հայերեն
  • Қазақша
  • Oʻzbekcha
  • Magyar
  • Български
  • Slovenčina
  • Hrvatski
  • Slovenščina

Registering an individual

To register in the OneVOIPlanet cloud PBX account dashboard, go to the registration page.

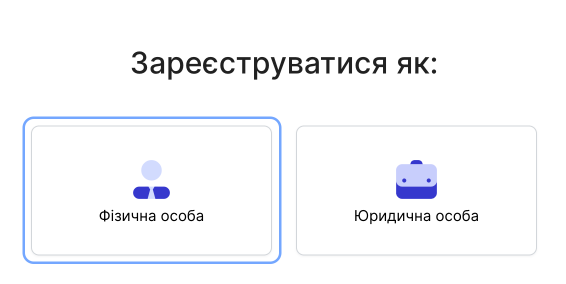
To register as an individual, click Individual

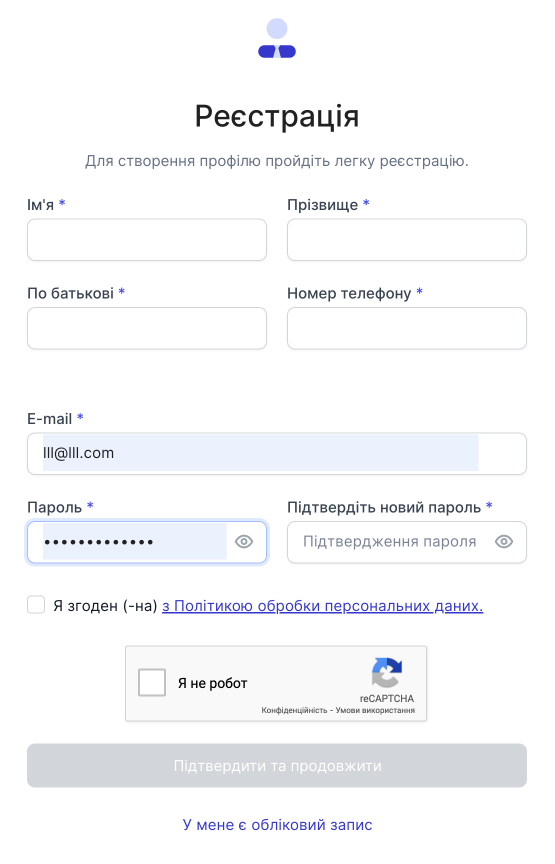
To create an account, fill out the simple form:

  • First name
  • Last name
  • Patronymic
  • Phone number

And for subsequent sign-in, you need to provide:

  • E-mail
  • Password
  • Password confirmation

Click Confirm and continue.

For the cloud PBX to work fully, complete the following list of actions:

Choosing a plan and purchasing numbers. Review and select the plan most convenient for you, then proceed to purchasing numbers.

More about choosing a plan and purchasing numbers →

Configuring the inbound and outbound directions of a number. To make your first call, configure the number.

More about configuring the inbound and outbound direction of a number →